My simple Lync article did so well, I figured that maybe it’s time for a simple Exchange 2013 article. This article is intended for a simple environment, and makes some assumptions.
Prepare your server
Before we get started you need to install Server 2012.
Make sure you have:
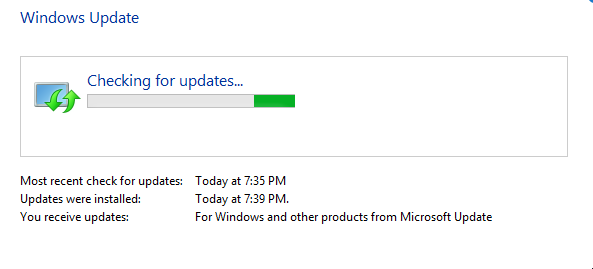
Installed all available updates
Set the clock
Set the time zone
Set a static IP (if applicable)
Tied the machine to the domain (if applicable)
Clear any pending reboots
Install prerequisites
Run this command from an elevated Powershell Window in order to satisfy the prerequisites.
Install-WindowsFeature AS-HTTP-Activation, Desktop-Experience, NET-Framework-45-Features, RPC-over-HTTP-proxy, RSAT-Clustering, RSAT-Clustering-CmdInterface, RSAT-Clustering-Mgmt, RSAT-Clustering-PowerShell, Web-Mgmt-Console, WAS-Process-Model, Web-Asp-Net45, Web-Basic-Auth, Web-Client-Auth, Web-Digest-Auth, Web-Dir-Browsing, Web-Dyn-Compression, Web-Http-Errors, Web-Http-Logging, Web-Http-Redirect, Web-Http-Tracing, Web-ISAPI-Ext, Web-ISAPI-Filter, Web-Lgcy-Mgmt-Console, Web-Metabase, Web-Mgmt-Console, Web-Mgmt-Service, Web-Net-Ext45, Web-Request-Monitor, Web-Server, Web-Stat-Compression, Web-Static-Content, Web-Windows-Auth, Web-WMI, Windows-Identity-Foundation
After this completes you’ll need to restart. Be a pro and do it right from powershell.
Restart-Computer
The next prerequisite we’ll need to install is the “Unified Communications Managed API (UCMA) 4.0”, download it here.
and run another Restart-Computer
You should also make sure that your other Exchange Servers that you may be migrating from have the appropriate Service Packs installed. For example Exchange 2007 servers must be at SP3 or newer or 2013 cannot be installed.
Acquire the installation media
Most people will be getting their media from a volume license entitlement. We also sell these if you don’t already have a reseller. Once you’ve purchased your entitlement you should get a license number. You’ll then need to create an account at the Volume Licensing Service Center. Once you’ve created an account, you may also then add the entitlement.
Once you have the entitlement registered you can then download the software and acquire your licensing key.
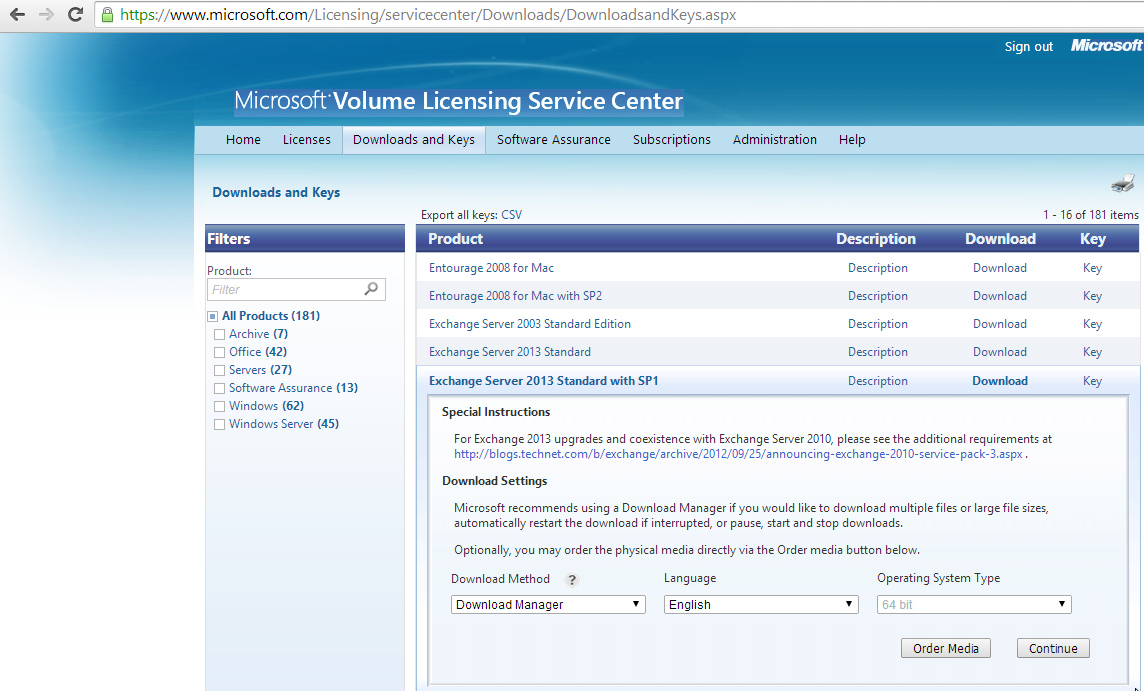
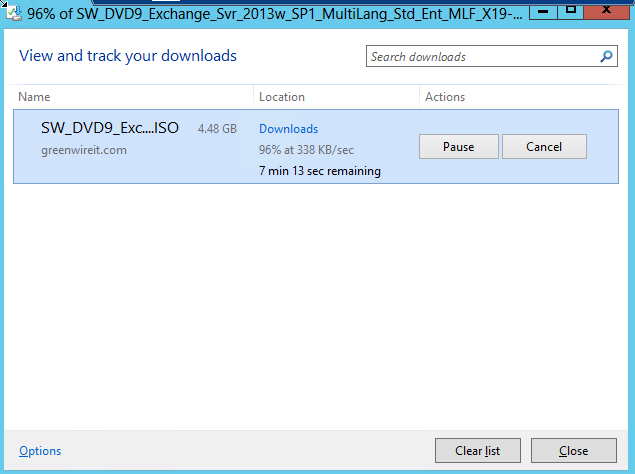
You can either use the automated downloader (recommended) or traditional http download (pictured)
Starting the Installation
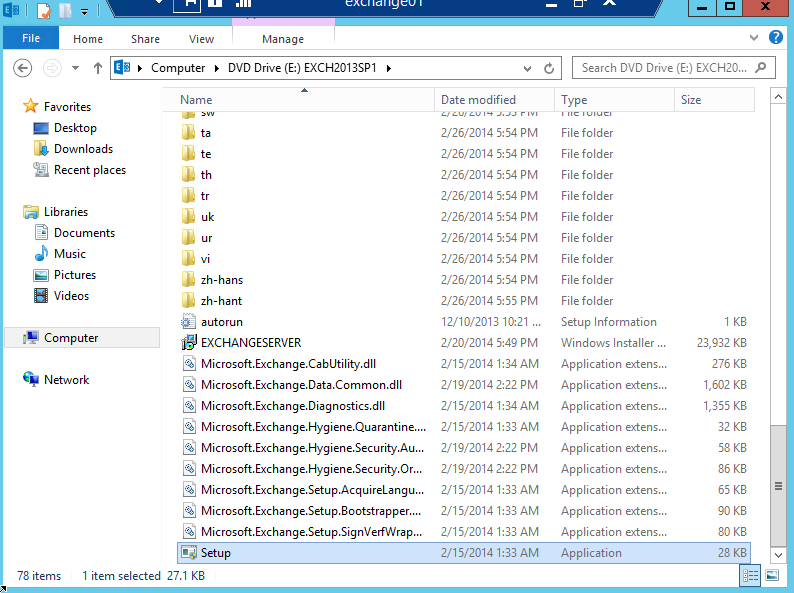
Once you have the ISO, we’re going to need to mount it in on the server, which fortunately is super easy in Server 2012. Just double click the ISO and Windows will automatically mount the ISO as a drive letter. Once you have the ISO mounted, go ahead and open the drive and run setup.exe
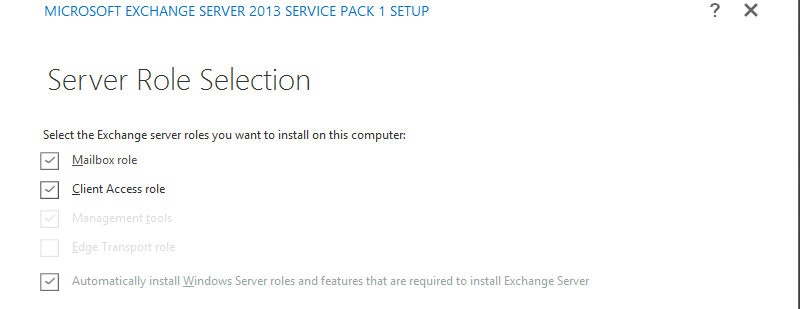
The installer will ask if you want to check for updates, press yes and move forward. Generally speaking you’re going to want to go with all of the default options in the installer. Other then when you’re asked about which roles you’d like to install. If this is going to be single server installation with no separate edge server. You’re going to want to select both the Mailbox Role and the Client Access role. You can always install a separate edge server later if you need one.
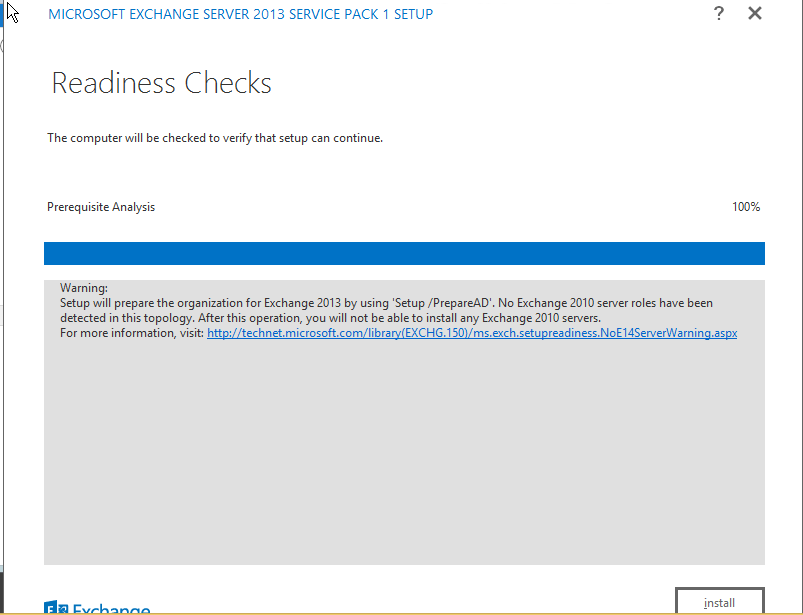
At the end of this process you’ll get to the check prerequisites step.
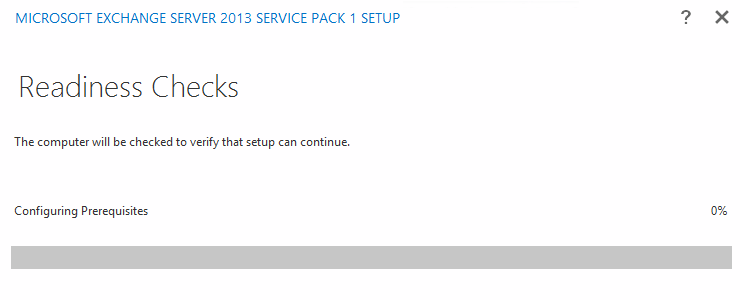
If everything is done right it should run and spit out something that looks like this. If you have any outstanding issues here, you’ll need to resolve them before moving to the next step.
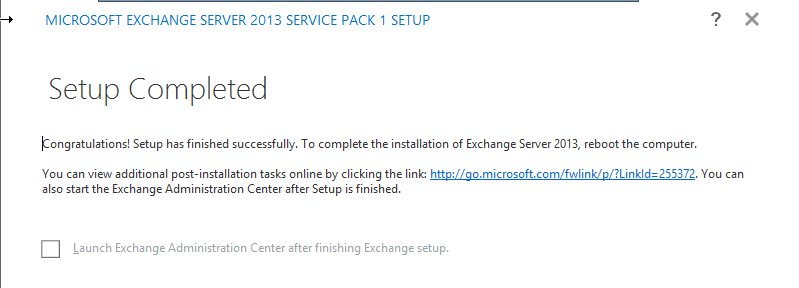
After you’ve resolved your prereqs go ahead and install Exchange 2013, after it’s finished you’ll get this message and you’ll need to reboot.
Configuring Exchange for Basic Use
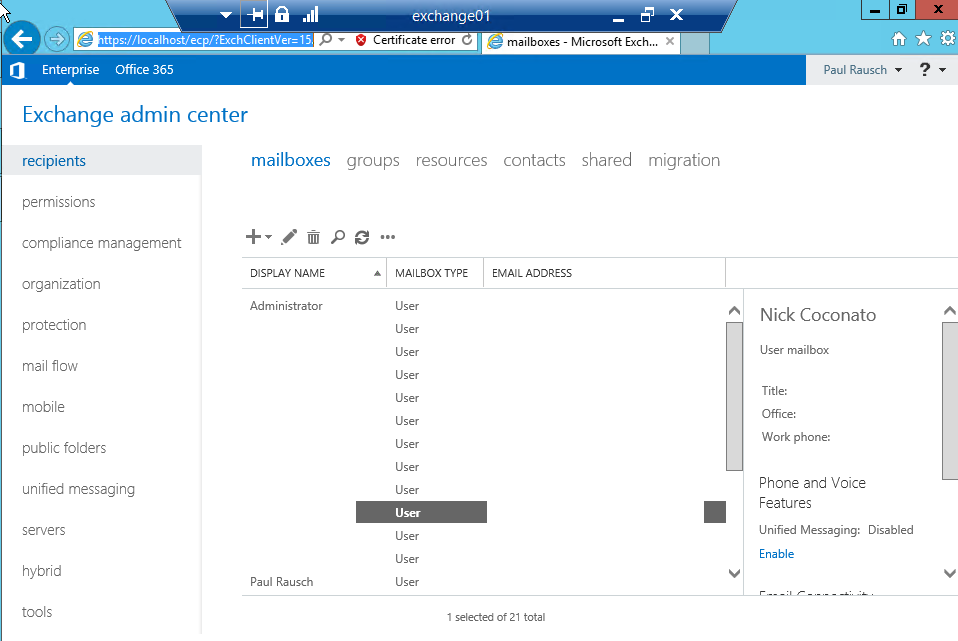
Once the server reboots we’ll need to login to the local Exchange Control Panel (ECP). The Exchange Console has been replaced in 2013 with the ECP and is no longer available. Open a browser (preferably IE) and go to
https://localhost/ecp
If you have Exchange 2007/2010 on the network you’ll need to use this URL to force the Exchange 2013 console.
https://localhost/ecp?ExchClientVer=15
If everything worked right, you should see this: